Indulge in the wild fusion of citrusy zest and velvety cocoa through this divine Chocolate Orange Cake! This vegan delight harmonizes the tangy brilliance of fresh oranges with the rich decadence of chocolate. Every bite will be leaving you craving more of this divine dessert.

Whether you're treating yourself to a slice on a lazy Sunday afternoon or presenting it as the star of the show at festive gatherings. (We love to serve it on birthdays, or on Mother's day to treat mom and the family with it.) This cake is guaranteed to make every occasion feel extraordinary.
Its decadent fusion of rich chocolate and zesty orange flavor is bound to impress. Let this chocolate orange sensation be the muse for joyous moments and the ultimate source of sweet happiness!
This post is supported by Ripple Foods, who provided me with an array of delicious vegan protein shakes and milk. A big shoutout to all the supporting brands who make The Simple Sprinkle possible. Learn more about this vegan protein drink & milk brand.
📋 Ingredients
To make vegan chocolate orange cake you need the following ingredients:
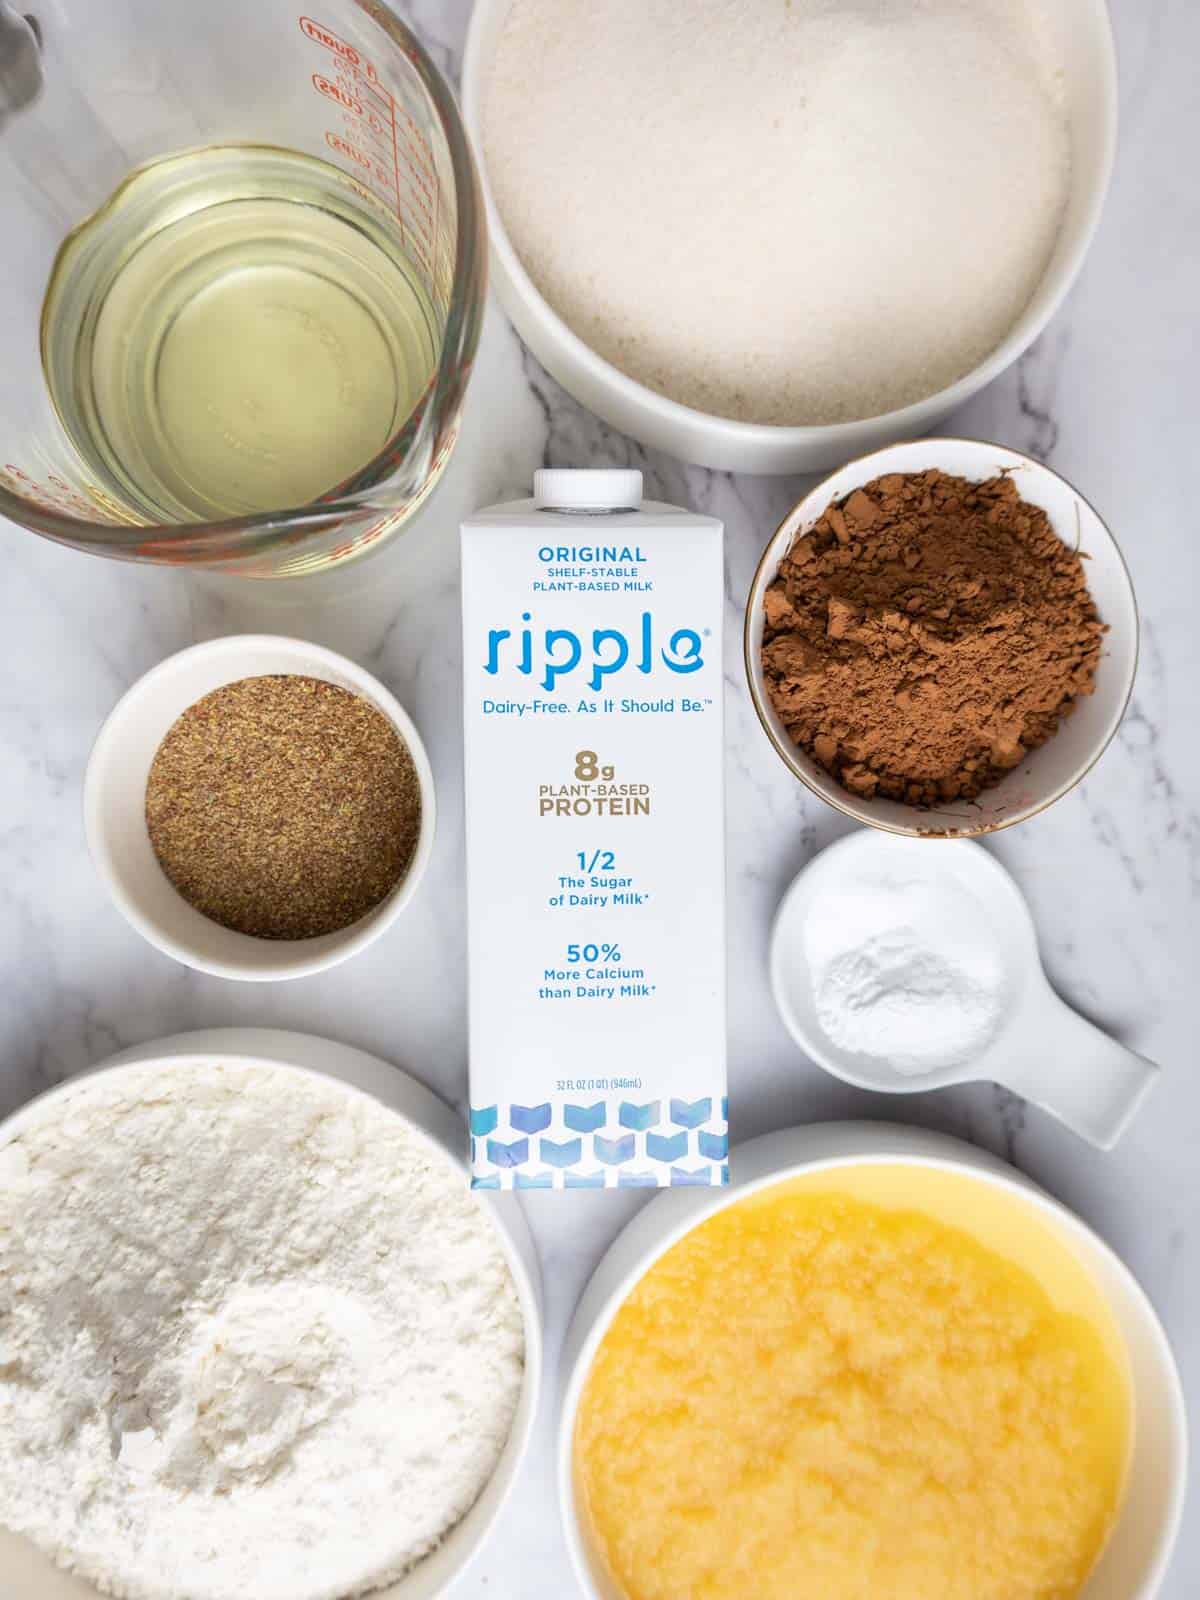
- Flax egg (flax meal + water)
- Ripple's Shelf-Stable Non-Dairy Milk - Original
- Orange juice
- Vegetable oil
- Organic cane sugar
- Orange extract
- Unsweetened applesauce
- Unbleached all-purpose flour
- Unsweetened cocoa powder
- Baking powder
- Baking soda
- Salt
See the recipe card below for a full list of ingredients and measurements.
👩🏽🍳 How To Make Chocolate Orange Cake
Let's chat about how to make the best dairy-free chocolate orange cake! Follow our step-by-step guide:
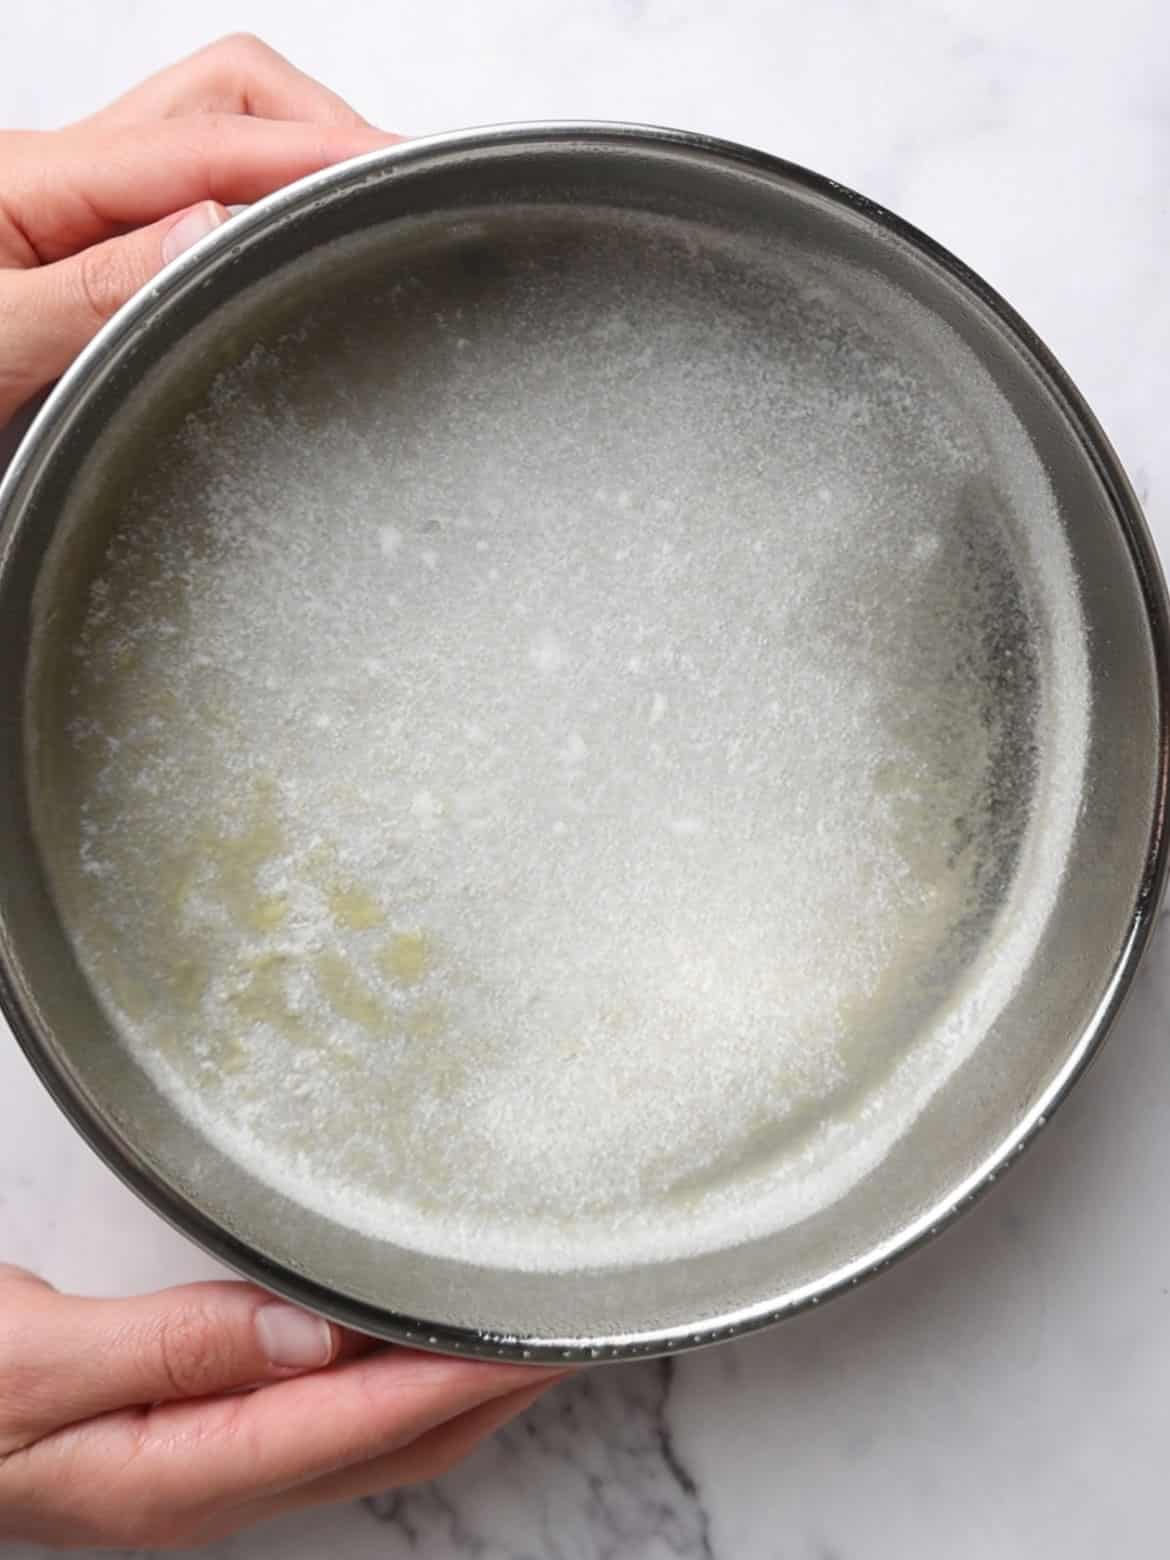
Preheat your oven to 355°F (180°C). Prepare your cake pan: grease or lightly spray with a neutral-flavored oil or vegan butter and flour it lightly to prevent sticking. Prepare your flax egg. Set aside.
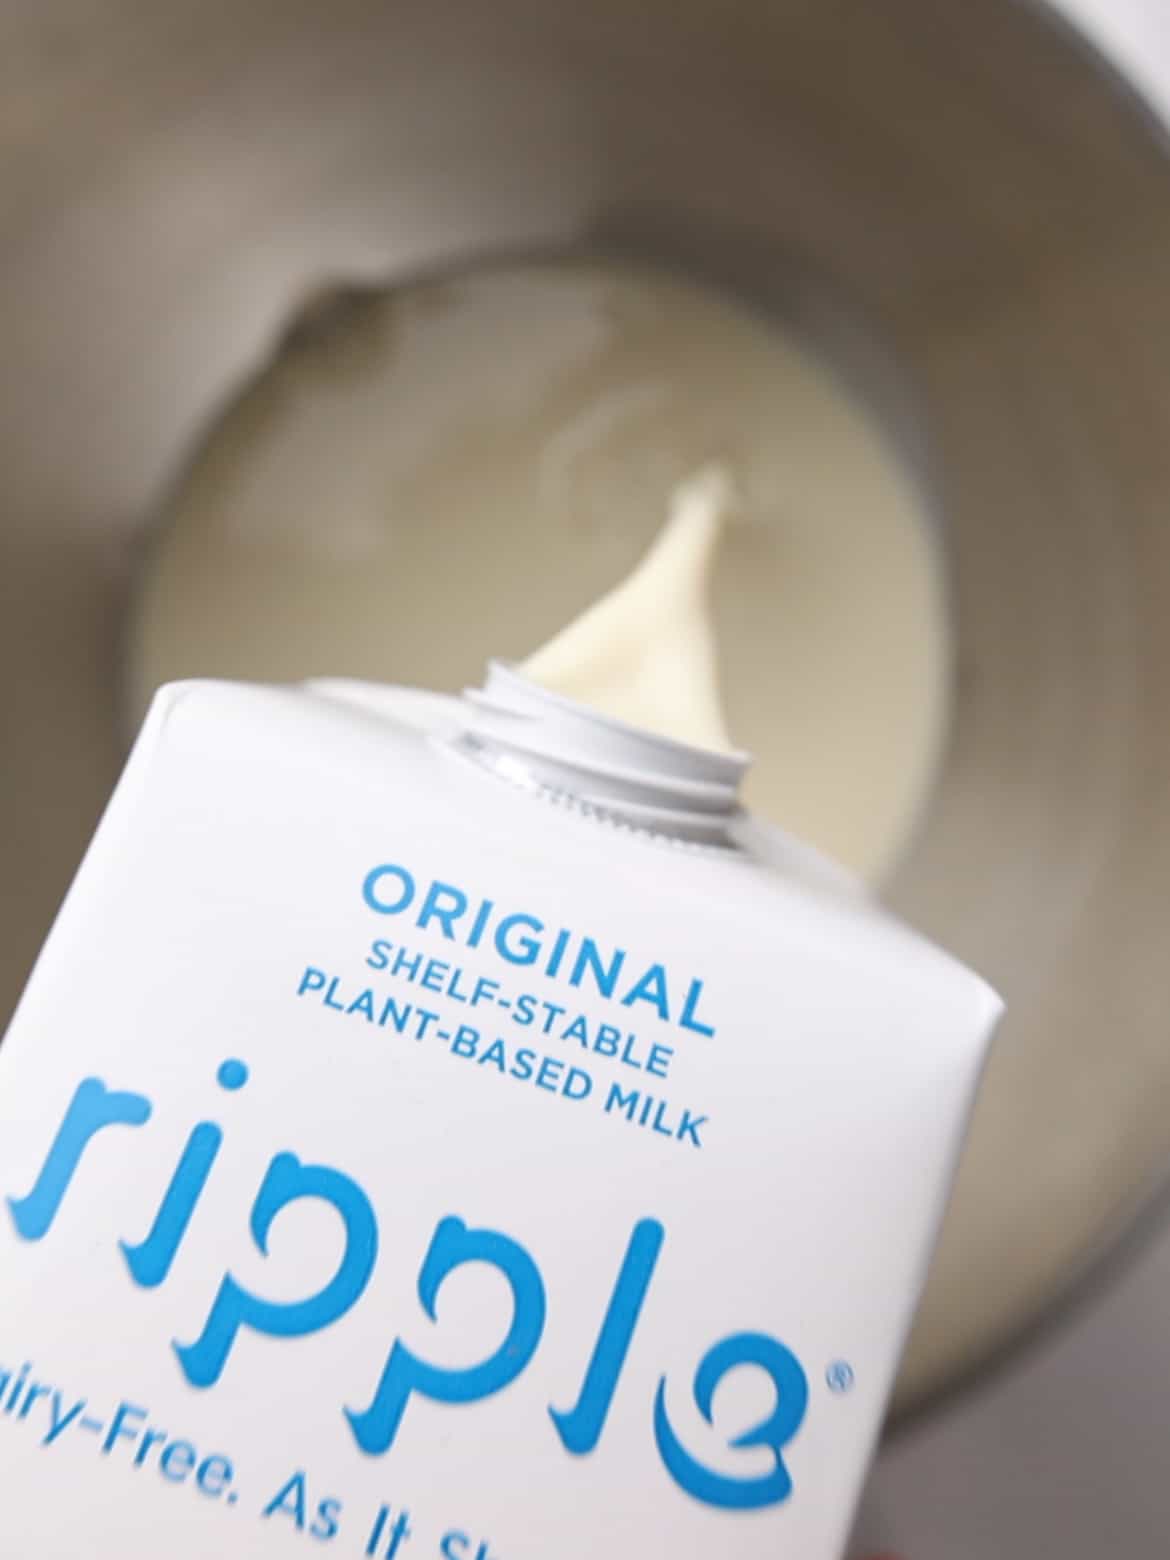
Whisk together the Ripple milk, orange juice, oil, sugar, orange extract, almond extract, and applesauce in a large mixing bowl.

Add flax meal egg and mix again.

Sieve your dry ingredients (cocoa powder, baking powder, baking soda, salt, flour) into the mixing bowl.

Beat with an electric mixer with the paddle attachment until everything is combined (do not overmix). Alternatively, you can beat it with a whisk by hand. The batter will be looking a bit textured due to the applesauce and flax meal.

Pour batter into the prepared pans. Bake for 60 minutes, or until cooked through. The cakes will be done when there is no wiggle in it. Let the cake cool completely before frosting.
🍰 How To Frost Chocolate Orange Cake
To frost the layered chocolate orange cake follow our step-by-step guide.
Before frosting, you need to prepare a buttercream or frosting. You can use our chocolate buttercream recipe. In addition, if cooled cakes are domed on top, use a large serrated knife to slice a thin layer off the tops to create a flat surface.
This is called “leveling” the cakes. Discard the tops, or crumble them over the finished cake as decoration.

Place parchment or cake board on your rotating cake stand. Dollop a tablespoon of buttercream onto it and flatten it out. Then add 1st cake layer. Evenly cover the top with frosting.

Top with 2nd layer and spread more buttercream evenly all over the top. I always use an icing spatula and bench scraper for the frosting. Do the same for the 3rd cake layer.
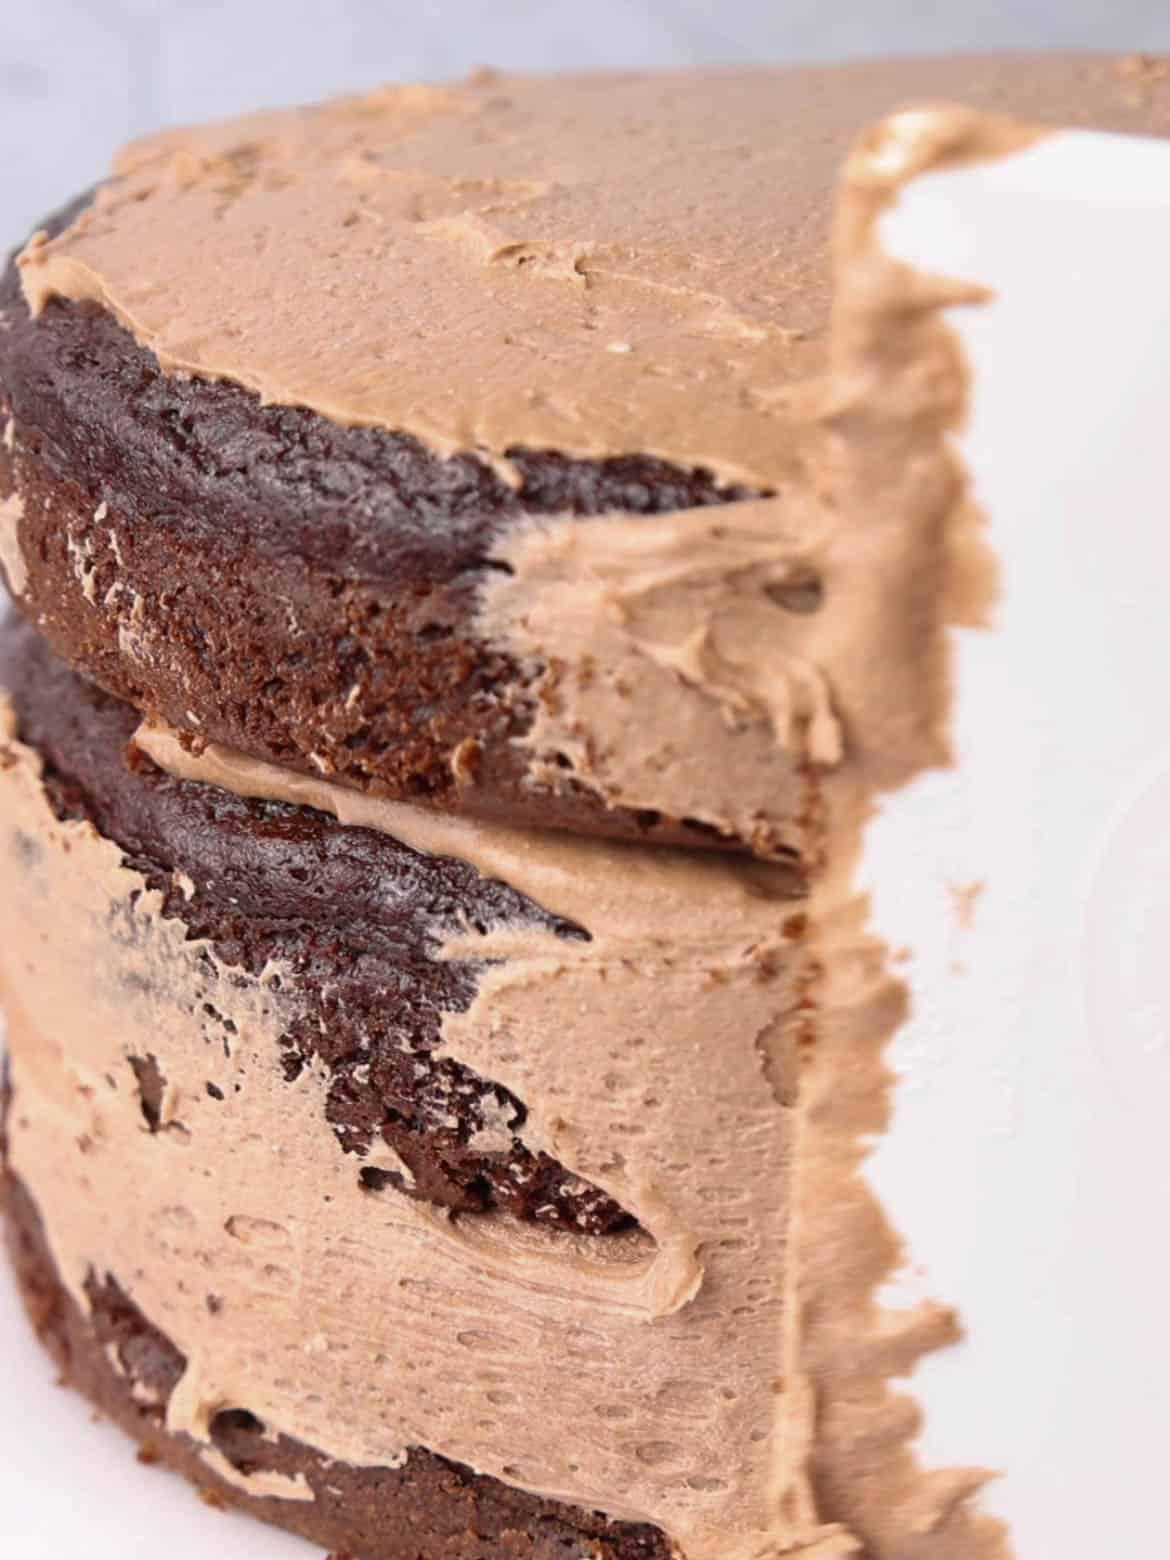
Spread buttercream all over the top and a thin first layer onto the sides, also known as a crumb coating. Chill the cake for at least 60 minutes in your fridge. If you need more visual assistance watch this video about how to layer and frost a cake.
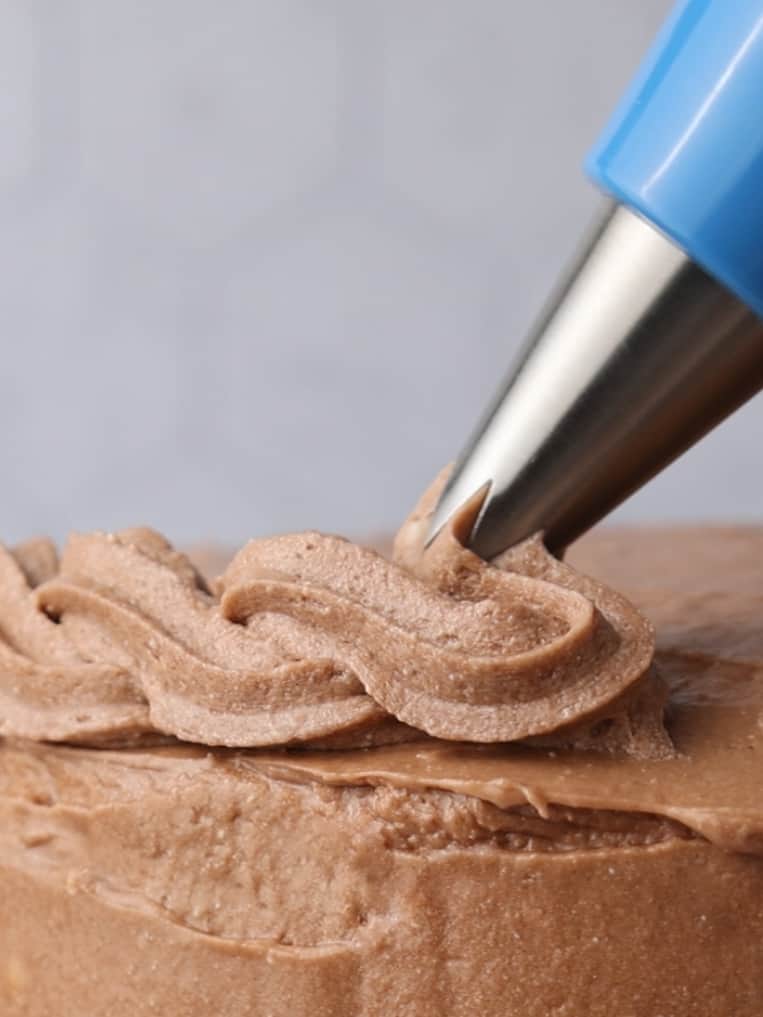
Once the crumb coat is set, you are ready to continue icing and decorating. At this point, continue icing the cake as you normally would. We like to add some candied or fresh orange slices as decoration, as well as orange zest and dark chocolate shavings. Then refrigerate the uncovered cake for at least another 60 minutes before slicing to help set the shape. After that, you can serve the cake or continue refrigerating for up to 4-12 hours before serving.
🍴 Substitutions
Are you looking for substitutions or quicker alternatives? We got you!
- Flax Meal - You can substitute flax meal with chia seeds or ground hemp seeds in equal amounts to create a similar binding effect.
- Ripple's Shelf-Stable Non-Dairy Milk Original - As an alternative use any plant milk of your liking. We love Ripple's milk alternatives for this cake because they are creamy and delicious, and their plant milk variety offers something for everyone. One of our favorite substitutions to use for this cake is Ripple's non-dairy chocolate milk.
- Vegetable Oil - Replace vegetable oil with melted coconut oil, or melted vegan butter.
- Orange Extract - If you don't have orange extract, you can use orange zest (grated orange peel) for a natural citrus flavor.
- Unsweetened Applesauce - You can substitute the unsweetened applesauce with mashed bananas or pureed pumpkin.
- Unbleached All-Purpose Flour: If you want these cookies to be gluten-free use a GF 1:1 flour instead. If you want to add more nutrition using half whole-wheat or spelt flour, and half all-purpose, works great with this recipe!
Remember, substitutions will bring their own unique flavors and textures to the cookies! Enjoy exploring different variations and discovering your favorite twist on our chocolate filled cookies recipe.
🎂 Variations
There are many delicious flavor variations to explore with this cake recipe! Here are a few ideas to play around with to zing up the flavor of this chocolate orange cake:

- Mint Chocolate: Add a refreshing twist by incorporating mint extract or finely chopped fresh mint leaves into the batter. You can also garnish the cake with vegan chocolate ganache infused with mint.
- Fruit (such as raspberry, or cherry): Layer the cake with raspberry jam, cherry compote, or fresh raspberries/cherries between the cake layers. You can also fold freeze-dried fruit powder into the frosting for a burst of fruity flavor.
- Peanut Butter: Create a peanut butter-chocolate combination by adding a layer of creamy peanut butter between the cake layers. Drizzle the top of the cake with melted vegan chocolate and sprinkle it with crushed peanuts for an extra crunch.
- Coconut: Incorporate shredded coconut into the cake batter. Another idea is to frost the layers with coconut whipped cream. Garnish the cake with toasted coconut flakes for added texture.
- Espresso: Enhance the chocolate flavor by adding a shot of espresso or a teaspoon of instant coffee powder to the batter. For a mocha twist, alternate layers of chocolate and coffee-infused frosting.
- Salted Caramel: Create a decadent treat by adding a layer of vegan salted caramel sauce between the cake layers. Finish the cake with a drizzle of caramel and a sprinkle of sea salt.
Feel free to mix and match these flavor variations and play with the recipe. Experimenting with different ingredients and flavors is part of the fun of baking! If you end up whipping up a fantastic variation of this recipe, don't forget to drop a comment at the bottom of the blog post! I'm all ears and absolutely thrilled to hear about your baking adventures.
🍽 Equipment
Gear up for a whimsical baking adventure with our chocolate orange cake! You need a trio of round cake pans or cake rings (Ø20cm / 8"). Grab your trusty electric mixer with the paddle or whisk attachment for the best results.
You'll also need a small bowl or cup to make the flax egg, and a big mixing bowl to make the batter. Don't forget a sieve to sprinkle your dry ingredients into the batter without any lumps!
Equip yourself with a serrated knife to level any uneven cake layers. Also helpful is a rotating cake stand, a helpful carousel for an easier frosting process. To frost the cake you also need an icing spatula and/or bench scraper. Place parchment paper or a cake board on the cake stand.
Once the cake is complete, let it chill in the fridge. Transfer to your serving cake platter or stand and enjoy. Gather your baking equipment and create this enchanting vegan chocolate orange cake!
🥣 How To Store Chocolate Orange Cake
To store your chocolate orange cake, ensure it is completely cooled before proceeding. You have a couple of options:
- Refrigeration: Store the unfrosted cooled cakes tightly wrapped in plastic wrap until ready to frost. Place the fully assembled and frosted cake in the fridge. If it is cut into store it in an airtight cake container. Store it in the fridge, where it can stay fresh for up to 4-5 days.
- Freezing: Ensure the cake or any leftover cake slices is/are completely cooled and frosted. Place the cake, or slice(s), on a cake board or a sturdy plate and transfer to your freezer. Freeze it for around 3-6 hours until frosting is hardened. Then wrap the cake tightly with plastic wrap, ensuring it is well-covered from all sides. For added protection, place the wrapped cake in a freezer-safe bag, or container or wrap it with aluminum foil. Label the package with the date and cake flavor for easy identification. Store it for up to 2-3 months.
When you're ready to enjoy the frozen cake: Remove the cake from the freezer and remove the plastic wrapping. Let it thaw in the fridge overnight. Add any fresh garnishes or decorations just before serving to ensure they are at their best.
Freezing the cake may slightly alter its texture, but it can still be a delightful treat even after being frozen. So go ahead and freeze a slice of happiness for future indulgence!
💭 Recipe FAQ
Yes, and no. Chocolate orange cake can be made vegan by using plant-based milk, oil, and egg substitutes like flax eggs or applesauce. However, oftentimes eggs and dairy products are used to make cakes. Make sure to check the ingredients before buying or consuming any chocolate orange cake.
Our chocolate orange cake recipe is 100% vegan, as it is made with only plant-based ingredients.
You can decorate your chocolate orange cake with fresh orange slices, candied orange slices, orange zest, chocolate shavings, or even candied orange peel for an extra pop of flavor and visual appeal. Get creative and have fun!
Additionally, you can play with sprinkles and frosting techniques to add color, flavor, and textures.
Absolutely! You can make this recipe a gluten-free chocolate orange cake by using a gluten-free 1:1 flour blend.
More Vegan Chocolate Desserts
📖 Recipe

Chocolate Orange Cake
Equipment
- 3 round cake pans (Ø20cm / 8")
- electric mixer with paddle attachment (or whisk)
- cake board (or parchment paper)
- cake platter or
- cake stand to serve
Ingredients
- 6 tablespoons flax meal
- 6 tablespoons water
- 600 mililiters plant milk (we used Ripple's shelf-stable non-dairy original milk)
- 120 mililiters orange juice
- 360 mililiters vegetable oil
- 450 grams organic cane sugar
- 3 teaspoon orange extract
- 2 teaspoon almond extract
- 375 grams unsweetened applesauce
- 450 grams unbleached all-purpose flour
- 105 grams unsweetened cocoa powder
- 3 teaspoon baking powder
- 1 ½ teaspoon baking soda
- ¾ teaspoon salt
- 1 batch vegan chocolate buttercream (around 4 cups / 950g)
Instructions
Prepare cakes
- Preheat the oven to 355°F (180°C). Prepare your cake pans: grease or lightly spray with a neutral-flavored oil or vegan butter and flour it lightly. Prepare your flax egg, Set aside.
- To prepare flax egg: Combine the flax seeds with water in a small bowl or cup. Mix well and set aside for 5 minutes to allow the flax to bind.
- Whisk together the Ripple milk, orange juice, oil, sugar, orange extract, almond extract, and applesauce in a large mixing bowl. Add flax meal egg and mix again.
- Sieve your dry ingredients (cocoa powder, baking powder, baking soda, salt, flour) into the mixing bowl.
- Beat with an electric mixer with the paddle attachment until everything is combined (do not overmix). Alternatively, you can beat it with a whisk by hand. The batter will be looking a bit textured due to the applesauce and flax meal.
- Pour batter into the prepared pans. Bake for 60 minutes, or until cooked through. The cakes will be done when there is no wiggle in it. Let the cake cool completely before frosting.
Assembling and frosting the cake
- Before frosting, you need to prepare a buttercream or frosting. You can use our chocolate buttercream recipe. In addition, if cooled cakes are domed on top, use a large serrated knife to slice a thin layer off the tops to create a flat surface. This is called “leveling” the cakes. Discard the tops, or crumble them over the finished cake as decoration.
- Place parchment or cake board on your rotating cake stand. Dollop a tablespoon of buttercream onto it and flatten it out. Then add 1st cake layer. Evenly cover the top with frosting.
- Top with 2nd layer and spread more buttercream evenly all over the top. I always use an icing spatula and bench scraper for the frosting. Do the same for the 3rd cake layer.
- Spread buttercream all over the top and a thin first layer onto the sides, also known as a crumb coating. Chill the cake for at least 60 minutes in your fridge. If you need more visual assistance watch this video about how to layer and frost a cake.
- Once the crumb coat is set, you are ready to continue icing and decorating. At this point, continue icing the cake as you normally would. We like to add some candied or fresh orange slices as decoration, as well as orange zest and dark chocolate shavings. Then refrigerate the uncovered cake for at least another 60 minutes before slicing to help set the shape. After that, you can serve the cake or continue refrigerating for up to 4-12 hours before serving.
Nutrition
The provided nutritional information is an estimate. Accuracy is not guaranteed.
For food safety see guidelines at USDA.gov.




I love chocolate and orange together. This cake is so delicious, it's hard to believe it's vegan!